(January 2021)
USB2.0 adapter and 3D-printed enclosure (AtomicPI)


...and then I used OpenSCAD to design and 3D-print an enclosure.
My previous articles on this excellent 35$ SBC:
- Powering it up with a custom adapter of my own making
- Using an ESP01/relay module to remotely power on/off my AtomicPI and interact with its serial port.
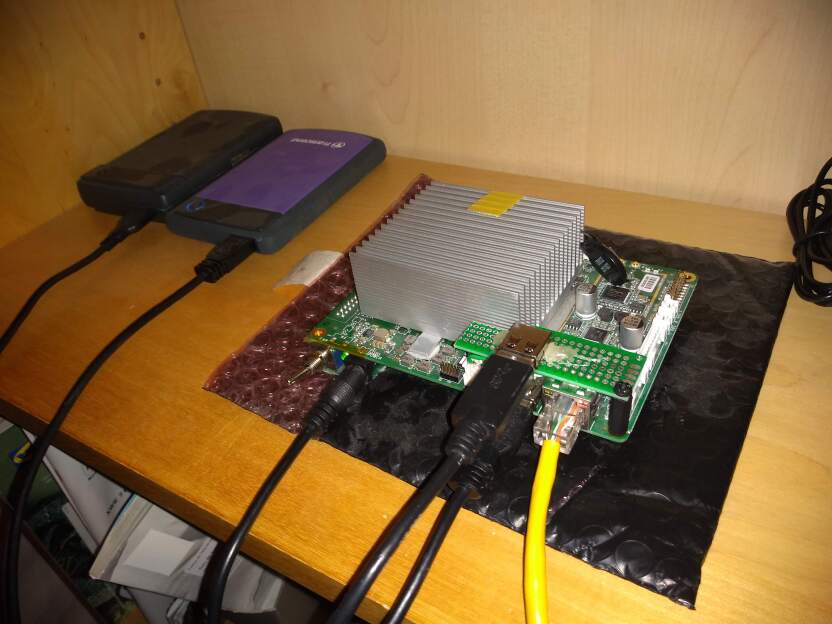
I love my AtomicPI :-)
I built it up 20 months ago, giving it a proper power adapter/switch, and setting it up for remote power/remote serial port via an ESP01. It has served me well in many, many ways - the most important of which is as a ZFS server with two external USB drives.
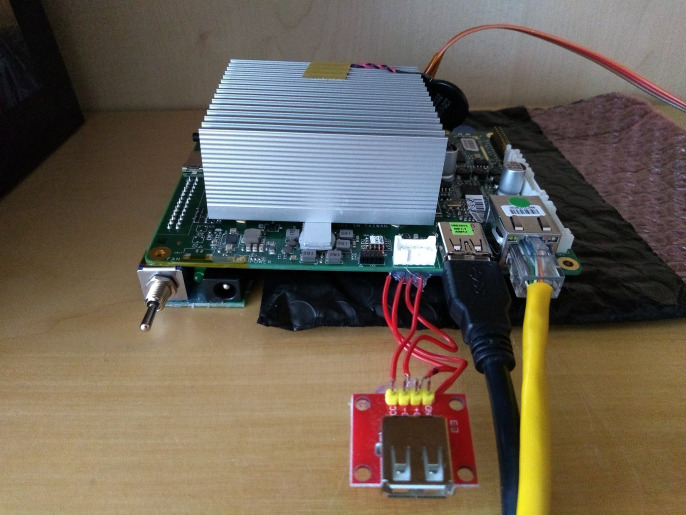
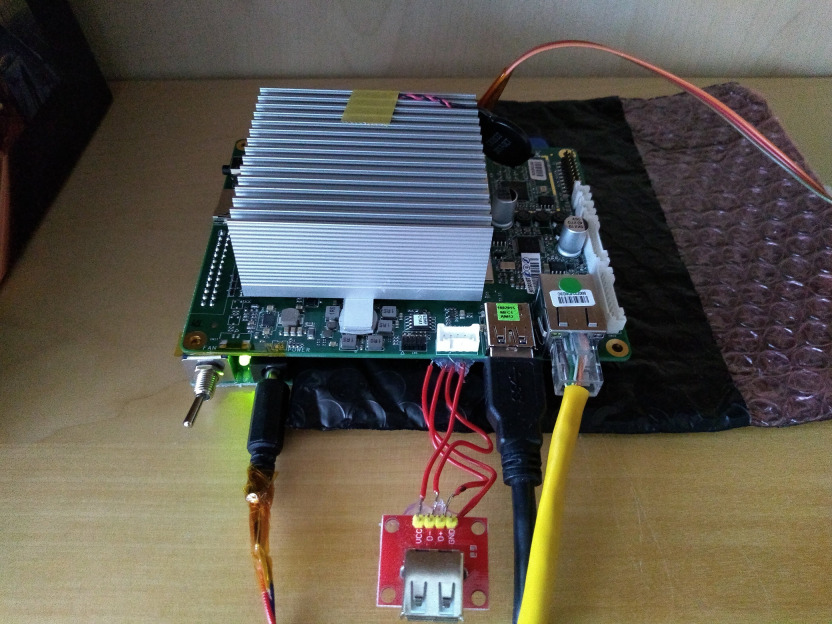
The old form
Back in 2019, I wanted to use the additional USB port "hiding" in the webcam. And being eager to do it, I didn't order any components/connectors - I just reused a female USB breakout board I had, and directly soldered it on the webcam pins of the PI (as shown in the photo above - from right to left, skip one pin (GND), then VCC, D-, D+, GND).
I also hot-glued after soldering - for extra stability! :-)
What can I say? I enjoy hacking things.
You may be doubting this setup - but you shouldn't. It has performed its duties as a ZFS server for a year and a half, with zero issues. ZFS periodically scrubs the mirrored pool, formed from two external 2TB drives - one accessed over USB3, the other over my custom USB2 port. Any issues with cabling/noise would have surfaced by now - there were none.
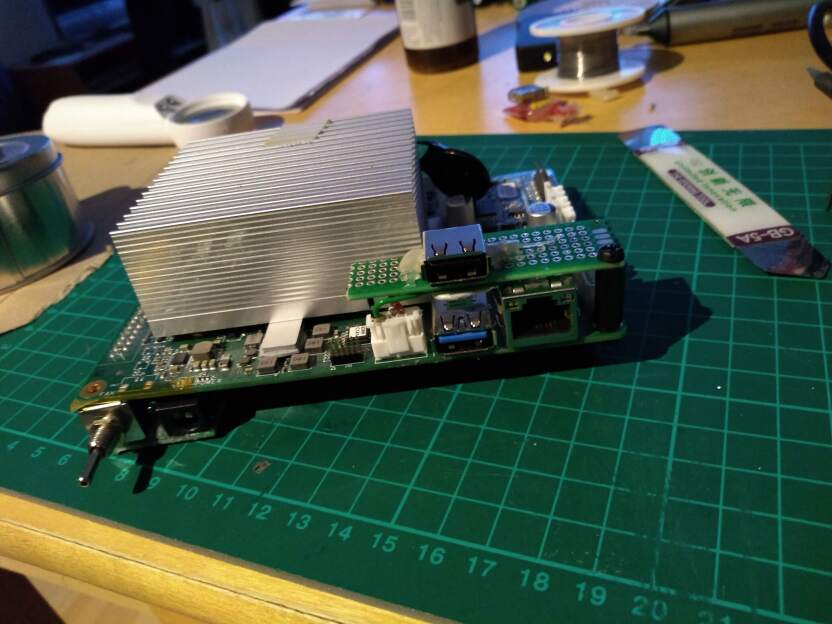
3D-printing an enclosure? A better USB port first!
So... This past Xmas, I rewarded myself with an Ender V2 3D printer. I am a tinkerer by nature, so I felt it was high time I jump on this hobby too.
And what better way to start, than by building an enclosure for my Atomic PI!
But before I get to that point, I obviously have to implement a better solution for the USB2.0 port...
I can't have it dangling off the side :-)
So I made an order from a German shop in e-Bay:
- 4X USB-A-S-RA Buchse USB A THT mit 90°-Winkel USB 2.0 vergoldet ADAM TECH
- 8X PAP-05V-S Stecker Leitung-Platte weiblich PA 2mm PIN: 5 kontaktlos 3A JST
- 32X SPHD-001T-P0.5 Kontakt weiblich 0,13-0,33mm2 26AWG-22AWG PA,PBV,PHD 3A 2mm
(The eBay shop I used - in case anyone else wants to reproduce my steps - was "chipmarktgmbh").
The ingredients arrived 10 days later - so...
Step 1:
Crimping solid core wires into the contacts, and inserting them inside the connector...
I don't have a crimper, so this was a bit of an exercise in patience :-)
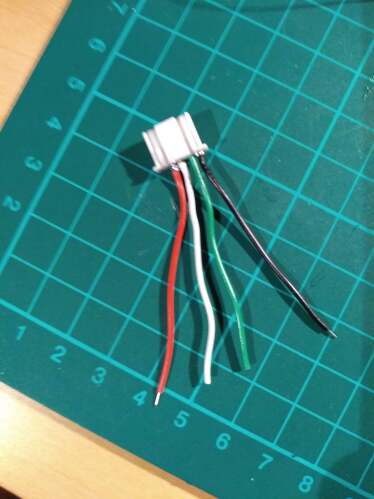
Crimping...
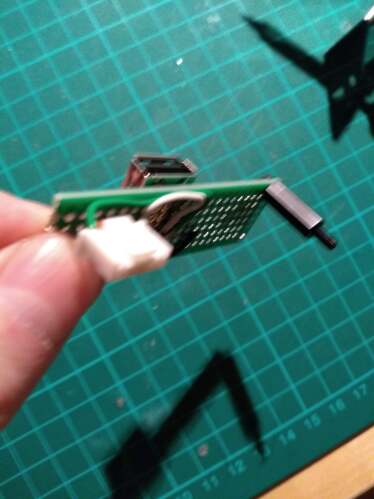
From left to right: VCC, D-, D+, GND
Step 2:
Cut a piece of perfboard that will perfectly fit alongside the big heatsink - and solder the USB port on it. Also, enlarge the corner hole to accomodate a PCB standoff - which will allow a much more solid attachment of this 'adapter' board on the motherboard.
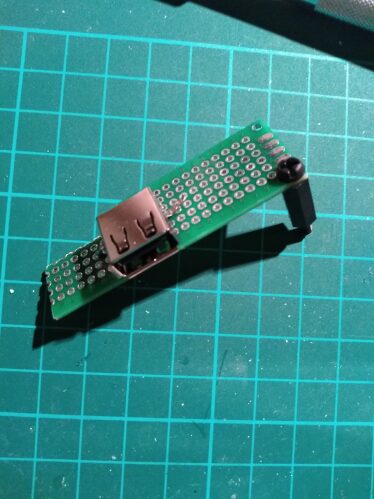
Female USB port on perfboard - placed, not soldered yet
Step 3:
Assemble the pieces, and mold the solid-core wires to properly place the connector - so that it will match with the webcam port:
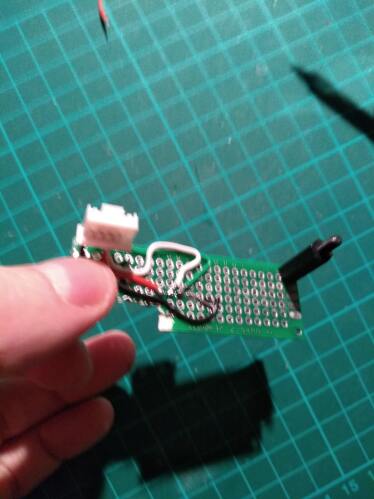
Assembly, side 1
Assembly, side 2
Step 4:
Add a bit of hot glue, for even more stability... and plug it in!
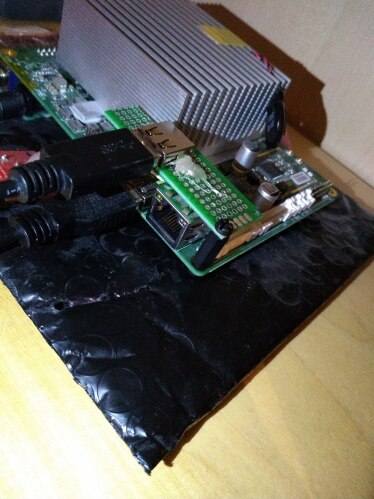
USB port stress test with ZFS
OK - so the new USB port now "lives" inside the body area of the motherboard. It's also quite solidly attached (with the PCB standoff on one side, and the JST connector on the other)
Time to test it, with a ZFS scrub on my 2TB ZFS pool...
...a test that it passed with flying colors.
So the new port works just as well as the port it replaced...
And it definitely looks better :-)
I am officially out of excuses now - I have to learn OpenSCAD, and design/print an enclosure...
Here we go!
Two after-work-evenings later...
OpenSCAD makes this job so easy! Amazing SW, I love it - feels just like writing code, with a very visual debugger :-)
This deserves a new blog post. Alas, no time!... But you can get the code from here.

And finally...
One weekend later...
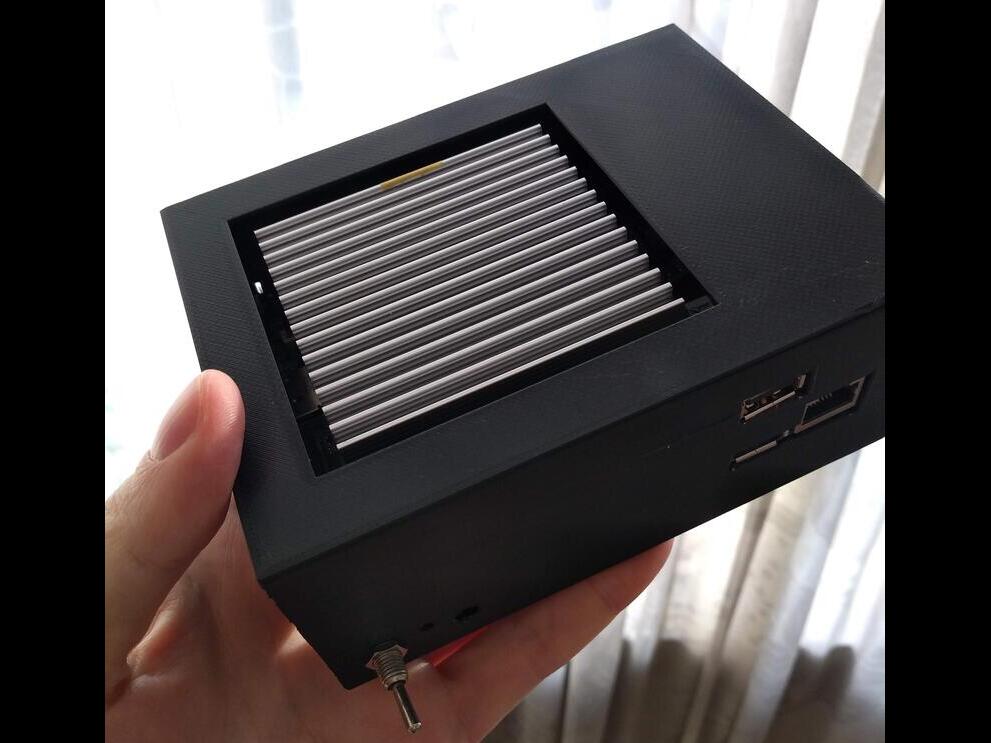
So, so much better :-)
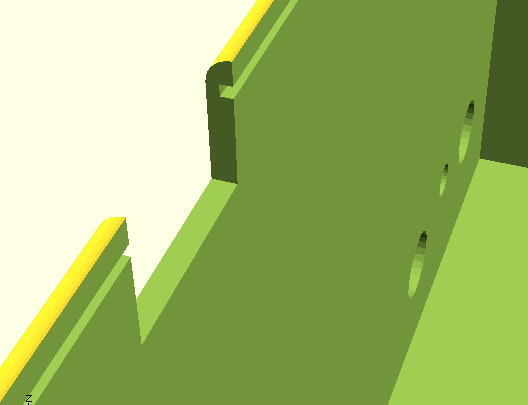
In case you are wondering, the top cover snaps into place, via a dent (inspiration: Inhumierer (Thingiverse) )


| Index | CV | Updated: Sat Oct 8 20:33:36 2022 |
The comments on this website require the use of JavaScript. Perhaps your browser isn't JavaScript capable; or the script is not being run for another reason. If you're interested in reading the comments or leaving a comment behind please try again with a different browser or from a different connection.